How to Wire LED Light Bar?
These days, car owners are opting for LED light bars because they can offer increased efficiency, longer lifespan, and great illumination and can also bring in a new style for cars.
Whenever we hear about wiring something, we often think of it as a difficult task which can only be performed by engineers, but wiring LED Light Bar is a pretty basic job and can be done with the proper idea about wiring and materials.
The basic idea of wiring can be gathered from anywhere and then it can be applied. A novice can do this wiring process. The reason for using LED Light bars in vehicles is because of the quality it ensures, and also these lights don't burn out like traditional incandescent ones.
Wiring LED Light Bar
LED lights are usually diverse, resilient and intelligent and it can also be color-coded according to the need of the owner.
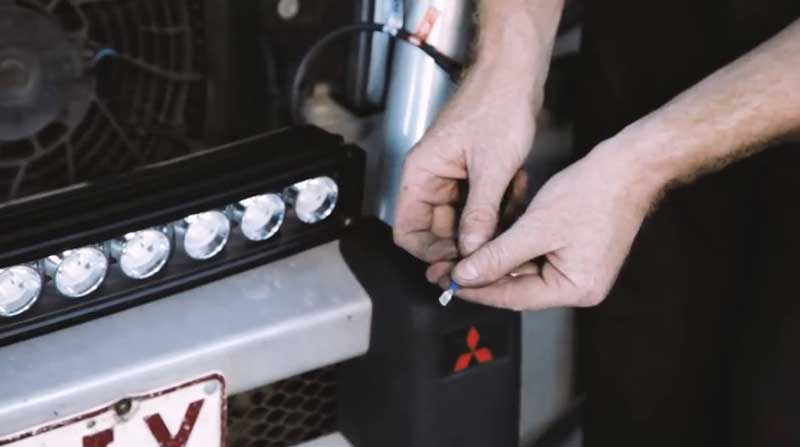
Before beginning the wiring process, one must install the LED Light Bar on their car and take necessary precautions before wiring like neutralizing the ultimate power source or the battery. Then with proper materials, an individual is set to wire LED Light Bar.
Required Materials
Step 1 – Dealing with LED Lights
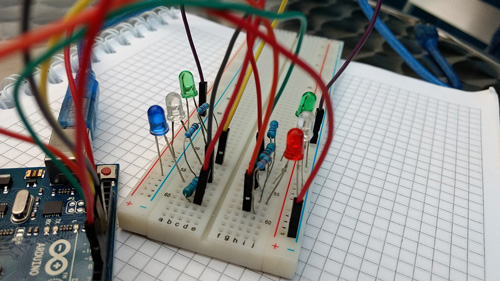
In most of the LED lights, there is a positive and a negative side which must be identified first before going any further. Usually, these sides are called electrodes, and the longer side of the wire is often the positive side in many LED lights.
Then we will identify the positive wire as the anode and the negative wire as the cathode. The negative side of the wire or the cathode has a wire that points vertically to the bulb while the anode points horizontally to the bulb.
At this point, the cathode and anode side of the bulb must be connected to the ultimate power source or the battery which in turn will provide voltage according to the voltage of the LED light.
Step 2 – Soldering and Wiring
After successfully identifying the negative and positive side of the LED light, it has to be connected to the battery with a soldering gun. A soldering gun is very easy to use, and it works like a heating machine which combines the wires, and basically, a material is heated to cover the surface area.
The two surfaces will bond after soldering, and this process can also be done without soldering. But bonding the wire by soldering is efficient.
After the battery determines how much voltage it will provide and if the calculation is done correctly, the procedure is done. And with an on and an off switch, the lights will turn on and off.
This is the basic way to install LED light bars but this will only ensure one light is switched on by one battery which will not be efficient and thus parallel and series circuits can come into play here.
Step 3 – Using Resistor
Basic wiring can be perfected with the help of resistors. The idea of using a resistor is pretty easy to understand. It is designed to control the voltage supply from the battery to the LED light.
This procedure is essential because if the voltage supply is not manipulated and moderated according to necessity, the LED will not support the entire voltage sometimes and can turn the battery hot and damage it.
Using a resistor is pretty essential, but the idea of a correct voltage is more important. If a correct voltage is not used, the microchip will be burned due to more voltage. If someone uses a little too less than the required voltage, then the glow will be dimmer.
Thus using the correct voltage that matches the capacity of the light is important and also a user may use a tad bit lower than the given voltage to be on the safe side.
Step 4 – Using Circuits
Circuits can be a tricky concept for the novices because it is a bit complex than the basic wiring process and one has to master the art of wiring one light first before trying to wire a set of lights.
After a person is confident about wiring, they should understand the two basic circuit systems which are Series and Parallel circuit structure.
Series Circuit structure can be a good option to begin with for beginners. It is very straightforward and easy to calculate. The circuit is linear, and each of the LED in this structure will need to be connected from one end to another end.

See Also: Best H11 LED Bulb Reviews
The current will remain constant in the e-series circuit, and the voltage required is easy to calculate as the voltage will be the sum of all the voltages of the LED lights put together.
Parallel Structure is different because here an individual will need to connect each positive side to another positive side and the negative to the negative for all the lights. So the anodes will be connected to the anodes only, and the same rule will apply for the cathodes.
The major advantage of using a parallel circuit is that it is much easier to calculate the voltage here because the voltage for all the lights will remain constant meaning we won't need to add up the voltages of all the LEDs.
Now, the major disadvantage of using a parallel structure is that the current gets divided into all the LEDs which will result in a drain of energy.
Final Thoughts
LED Light Bar will be of great use in the coming generations, and people must learn this easy process so that they can wire the light bars on their own.
Necessary precautions should be taken before wiring, and a general idea of wiring and some research on the materials and the circuits and resistors should be done before going all in.
In case of a problem, an individual must contact someone familiar with wiring, and first things first, you must properly know the anode and cathode side of the bulb before going any further.

