How To Install A HVAC UV Light? Step by Step Guideline
Ultraviolet equipment do offer many benefits when you add them to the heating and cooling system of your home. This includes keeping flu and cold germs away.
If you are a homeowner who is concerned about indoor air quality, there are so many reasons why you should consider to install this system. Before going through the uv light installation guide, let's have a look on why you should use a UV light.
i) Improved Airflow
HVAC UV lighting systems prevent microbial buildup on the duct, drain pans, cooling coils and air filters surfaces.
ii) Improved Energy Efficiency
UV will restore the performance of the HVAC system to the optimum level thus reducing power consumption.
iii) Cost-effective
When you add the UV lighting system to your HVAC system you will assist it to be clean. This is one of the reasons why they are cost-effective especially when you consider the money-saving and health-related benefits.
iv) Prevents diseases
HVAC systems do circulate the air in your house thus prevents a build-up of organic material at the interior of the system, kills microorganisms and pathogens which can thrive in the HVAC system.
Do you have an interest in learning how you can install a sanitizing UV light at your HVAC? You are at the right since the UV light is used in many places such as in hospitals for disinfecting operating rooms and medical equipment. The following step by step guide can be of great help to you.
How To Install A HVAC UV Light: Detail Guide

1. Choose the Location Where You will Install the HVAC UV Light
You must start by checking where you will be installing the UV light system so as to determine the best place on your air handler or furnace where you will install it. If you install the Uv light at the wrong place, its effectiveness of preventing mildew or mold growth will be reduced.
Normally, you may wish to install your AC ultraviolet light system in a place where the evaporator coil would get enough amount of light. The evaporator is the source of HVAC contaminants.
The coil is highly susceptible to the growth of biofilms that are families of microorganisms that stick together on your HVAC surface. The coil or evaporator is a section of the air handler which has copper tubing where refrigerant runs.
In case you have experienced mold growth inside your HVAC appliance and you know the specific part of the air handler which is prone to mildew or mold, then you can install your UV light at this place. If you know the exact area of your AC which gets much of the mold growth, then you cannot waste your time in experimenting with various locations.
Shaped Coil
In this case, the best place you can install your UV light is at the downstream, center or above the coil. This will allow your AC UV light to shine a high amount of light to the coil so that it kills many of the microbes. If there is a room you can install it below the coil. In case none of the above parts are feasible, then you have to install UV light at the side of the coil.
Diagonal Shaped Coil
In case the evaporator has a diagonally shaped, then you can install the UV light either below or above it.
2. Drill Hoes for UV Light
You can consider drilling holes into the air handler where the light bulb will penetrate inside. Normally, all the UV light systems are installed with the main part of being mounted on the outside. Only long UV bulbs will enter inside.
What you should do before drilling the holes
i) Taking measurements.
You can remove the cover so that you can take measurements. You cannot wish to drill a small hole into the metal sheet and to your surprise, it turns out that your bulb cannot fit. Also, try to insert the bulb at the area where you will install it to have an idea if it can fit well. Many of the flights do require a whole range of 1.5 inches to 3 inches in diameter and they come with a hole saw.
ii) Power off and Use a Paper Template
You MUST switch off the power source before you start to install a UV light to avoid getting a shock. Many of the AC light systems do come with a paper system that you can use for mounting.
The template has to be taped to the location where you will install your light system. In case there are two bulbs the template can assist you in cutting holes at the right distance.
3. Screw The UV Light to a Furnace
The HVAC UV light tool comes with screws that you can use to install it. You can use the Philips screwdriver or cordless drill in securing your UV light to a metal.
Avoid installing the UV light tightly to such an extent that it cracks the plastic part of the UV light. Also, do not power on the bulb before you have installed it fully since it can damage your eyes or even get your skin burned
4. Power Your HVAC AC Light System.
After you have secured your light to a furnace, you can power it on. Many of the UV lights have 5 inches to 7 inches long power cords. What you are supposed to do it to plug the unit into an existing outlet.
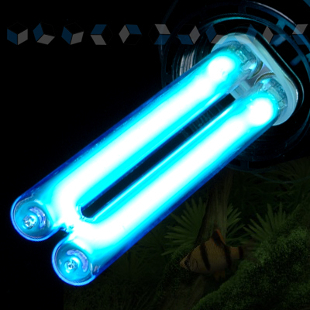
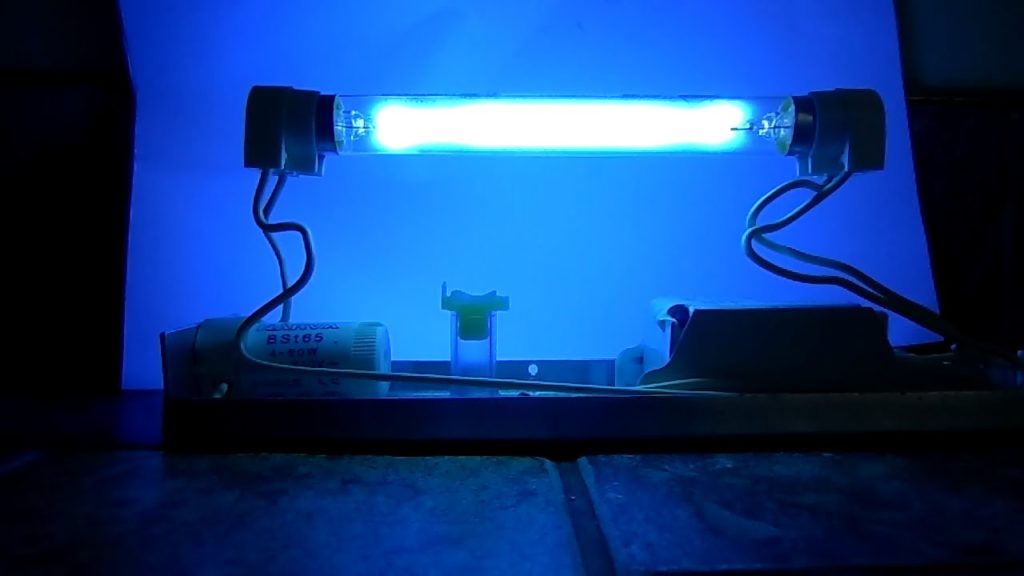
However, it’s recommended to hire an electrician who can do this customized electrical job. After plugging it, you can flip over your power switch and check through the glass to ensure your light in on. When you look at sight glass it should have a blue glow.
5. Change and Clean the UV Light Bulb
Many of the HVAC UV bulbs do last like one year. In case you see a blue light, it will not mean that your bulb will not require replacement.
To prevent the hvac uv light damage, it’s recommended that you should clean your bulb every month.
Final Verdict
Installing a UV light can be a pain if you don't have the equipment or the DIY skill. By following the above guide, you will find hvac uv light installation is vey easy that kill mildew and mold in your indoor air handler.
The primary idea is to cut a hole in the suitable location, insert the hvac uv light placement correctly, use screws to secure the light, and plug it in . Now you know how to install a uv light in hvac, Good Luck...

